
Our Artistic Process
Over the course of the last five years we have produced over 800 drawings for this project, ranging from wide landscape panoramas to simpler drawings of individual extinct animals. Although the subject matter for these drawings can change a lot from illustration to illustration, the process used to draw these animals and landscapes usually follows a similar workflow. In this section I've tried to write down a general summary of the steps needed to make the types of drawings used to show the appearances of individual taxa on this website.

(ABOVE) A drawing of a young ceratopsian who has found the decomposing skeleton of an Albertosaurus in what will one day become the Horseshoe Canyon Formation in Alberta, Artwork by Corbin Rainbolt
The software we use to make our artwork is all available to download for free online. All of out drawings are made using G.I.M.P. version 2.10.34. This drawing and image editing software is fairly similar to other programs such as Adobe CC products, or Krita, ProCreate etc. It's a good alternative to paid programs and it still includes a lot of the main features that you may be used to using.
Visit the G.I.M.P. website
How to draw a Deinonychus
by Corbin Rainbolt
Step 1

The first step of the drawing process is making a basic sketch of an animal in order to get an idea of how I want the drawing to be posed and to make sure I have enough room for the entire animal on my page. I usually do this on its own separate layer and keep the sketch pretty loose since I'll be making a lot more edits to the lines of the drawing before I start to add colors.
Step 2

Once I have a good idea of how I want my drawing to be posed I go ahead and make a more refined sketch on top of the layer from the first step of this process. I try and mark out some of the basic anatomical details with directional marks while I plot out the placement of the animal's eyes, nails, teeth, etc.
Step 3

One more layer of detail gets added to the lines of the drawing at this stage. This time I try and get as much detail on to the page as possible at this point in order to help guide the workflow of the drawing in future steps. This last line art stage is usually done on a transparent layer.
Step 4
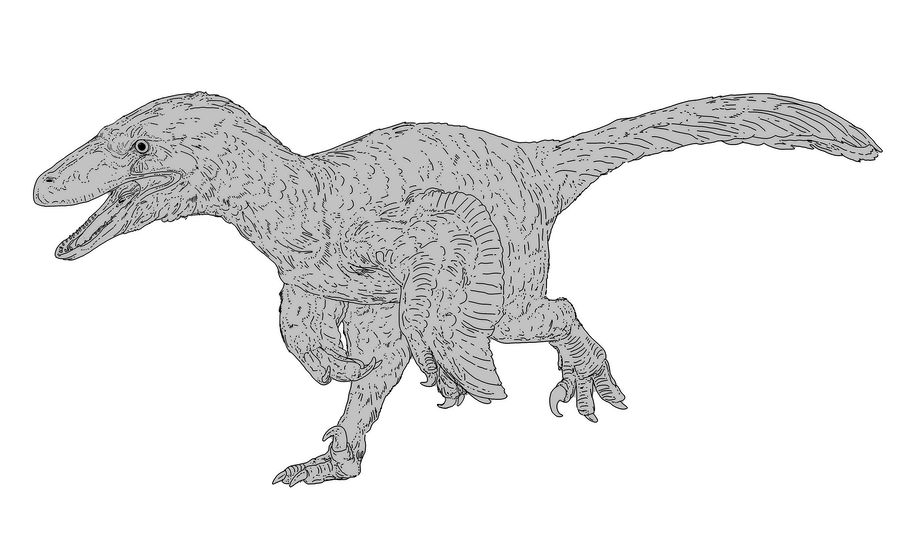
Keeping only the detailed line art layer from the last step, I go ahead and mark out the contours of the drawing using a flat color. I usually use light gray to mark out the general shape of the animal.
Step 5

I add basic shadows to the drawing by painting them in black on a low-transparency layer. I like to keep the shapes of the shadows on their own layer so that I can use them later as an overlay once I start adding more details/colors.
Step 5

Before I start adding basic colors I add a layer for my highlights and mark them out in white. The highlights layer needs to be underneath the shadow layer from step 4.
Step 6
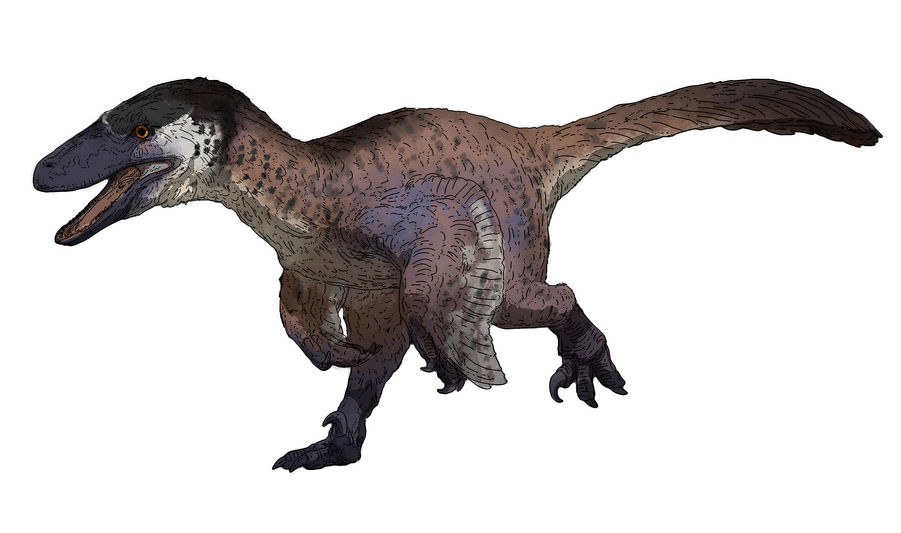
The first round of colors I add to the drawing tend to be fairly basic. I don't worry too much about getting the shading just right at this point, its more about figuring out the layout of the color patterns for the skin/fur/feathers.
Step 7

On a separate layer above the rest of the drawing I like to make a collage of different types of textures for my illustration. These textures are taken from photos. I often go to the zoo or the aquarium to take a lot of these types of reference photos so that I have a decent amount of images I can use for these collages. Once this step is complete I will then make this collage layer less opaque and begin to work these textures into the drawing itself.
Step 8

When the textures from the collage from step 7 are brought into the rest of the illustration it becomes time to start refining the bright spots and shadows. In previous steps the lines between shaded areas and unshaded areas were very abrupt so most of this step involves blending the darker shadows into the rest of the animal's form.
Step 9
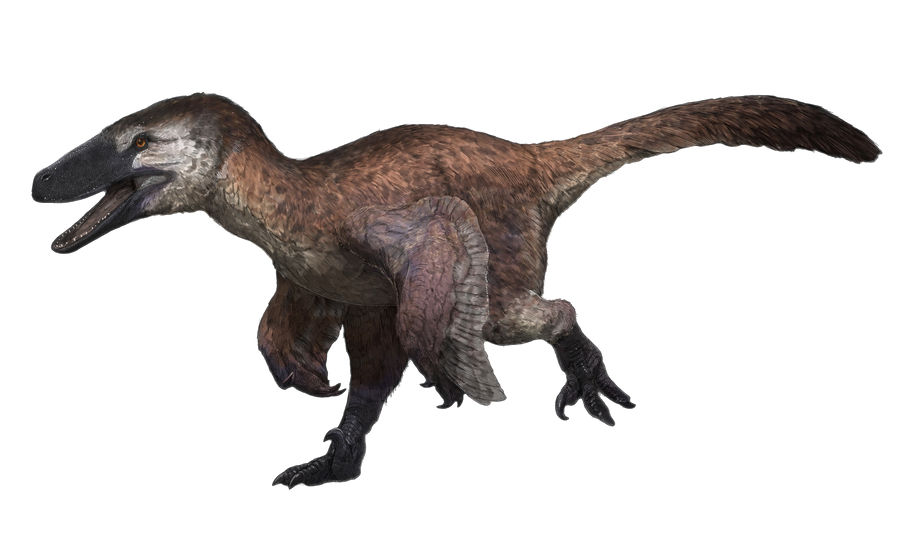
Once all the coloring and shading work is complete I like to go back over the drawing and make a hatched pattern using a simple circle brush. I use lots of tiny parallel directional lines in order to give more volume to the animal. The hatched lines will ideally match with the contours of the animal and the directions of these lines can tell a viewer a lot about the shape and/or texture of a particular object in the drawing.
Final Adjustments

The last step in the process is just a matter of going over the drawing and making final adjustments to the colors in the scene or the anatomy of a particular animal. In the case of this drawing of a Deinonychus, I reduced the size of the arms and lengthened the tail using the "warp transform" tool.